
Customer Help Portal
E4 Embroidery Studio Installation
EmbroideryStudio e4.
يتم تقسيمها إلى 4 أقسام. الأول هو المتطلبات الأساسية وهو كل ما تحتاجه للبدء. ثانياً ، تثبيت برنامج EmbroideryStudio e4. الثالث هو تثبيت CorelDRAW X. الرابع هو إنهاء التثبيت. هذه الخطوة الأخيرة مهمة لتكامل استوديو التطريز و CorelDRAW.
Prerequisites –
- EmbroideryStudio e4 Installer Download Here
- New EmbroideryStudio e4 Dongle
- CorelDRAW X Serial Number
- Internet Connection (required)
A. EmbroideryStudio e4 Installation –
1.) Windows may ask for your permission to allow the Wilcom installer to make changes to your device. Allow to continue.
2.) The installer will install the dongle driver.

3.) Click Next to Continue

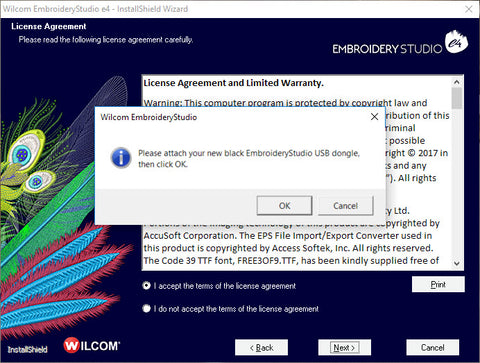
4.) Accept the license agreement, then click Next.

5.) Attach your EmbroideryStudio e4 dongle to a USB port, and press OK.
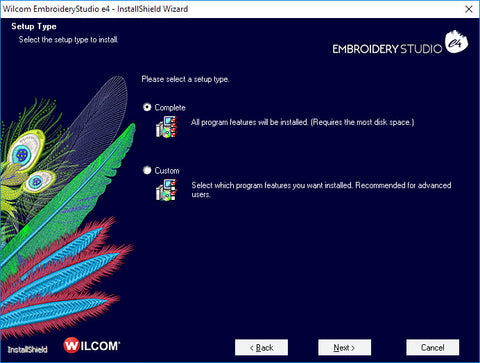
6.) For most users, a Complete install is recommended. Choose your option and click Next.
7. Choose any additional languages you would like installed. (English is the default). Now click Next.

8.) Now choose the location you want to install EmbroideryStudio e4. The default location is recommended. Click Next.

9.) If you have a previous version of EmbroideryStudio installed you will be asked if you want to merge user-defined settings. Choose “I do not wish to merge,” and click Next.

10.) Click Install to start installation of EmbroideryStudio e4

11.) Select Yes, and Click Finish to reboot your computer, and complete the EmbroideryStudio e4 installation.

12.) After reboot you get the following message. Indicating a successful install. You’re now ready to integrate CorelDRAW .
