
Customer Help Portal
E4 Installation & Dongle update
EmbroideryStudio e4.
يتم تقسيمها إلى 4 أقسام. الأول هو المتطلبات الأساسية وهو كل ما تحتاجه للبدء. ثانياً ، تثبيت برنامج EmbroideryStudio e4. الثالث هو تثبيت CorelDRAW X. الرابع هو إنهاء التثبيت. هذه الخطوة الأخيرة مهمة لتكامل استوديو التطريز و CorelDRAW.
Prerequisites –
- EmbroideryStudio e4 Installer Download Here
- New EmbroideryStudio e4 Dongle
- CorelDRAW X Serial Number
- Internet Connection (required)
A. EmbroideryStudio e4 Installation –
1.) Windows may ask for your permission to allow the Wilcom installer to make changes to your device. Allow to continue.
2.) The installer will install the dongle driver.

3.) Click Next to Continue

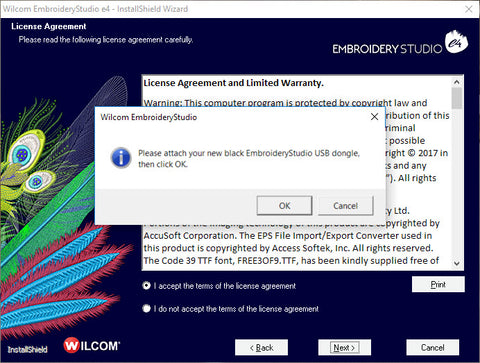
4.) Accept the license agreement, then click Next.

5.) Attach your EmbroideryStudio e4 dongle to a USB port, and press OK.
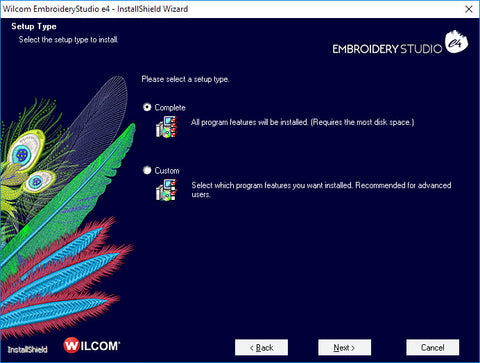
6.) For most users, a Complete install is recommended. Choose your option and click Next.
7. Choose any additional languages you would like installed. (English is the default). Now click Next.

8.) Now choose the location you want to install EmbroideryStudio e4. The default location is recommended. Click Next.

9.) If you have a previous version of EmbroideryStudio installed you will be asked if you want to merge user-defined settings. Choose “I do not wish to merge,” and click Next.

10.) Click Install to start installation of EmbroideryStudio e4

11.) Select Yes, and Click Finish to reboot your computer, and complete the EmbroideryStudio e4 installation.

12.) After reboot you get the following message. Indicating a successful install. You’re now ready to integrate CorelDRAW .

New Access Code Installation Instructions
It is important to install these codes to ensure your dongle is timed correctly, and contains the features you have purchased.
- Ensure your dongle matching the Dongle Tag Number is plugged into your computer, and open your Wilcom DecoStudio or Wilcom Embroidery Studio Software.
- You should have received TXT file titled “AUTOMATIC” followed by your dongle number. IE: “AUTOMATIC-E323072.TXT”. Save this to somewhere you can easily find later.
- Before installing the new codes, ensure your Current Identity Code matches

The security device dialog will appear. Click on the Import Codes… button.
To confirm this, open your Wilcom ES software.- For e3: From the Setup menu, select Security device setup…. Your Current Identity Code will be listed. If this matches, please continue. If the identity code does not match, please contact your Wilcom representative. Once your codes are entered, your New Identity Code should be updated.

- Browse to the folder where you saved the codes file in step 2 of these instructions.
- Select the AUTOMATIC file, and click Open.
- The codes will now automatically be installed and you will be prompted when complete.
- Note the changed Identity Code in the Security Device dialog. Ensure the Identity Code in the Security Device dialog box matches the new identity code
- Click OK and close the Security Device dialog.